
How Idenge works: digital cards for your members, users and customers
Works with Apple Wallet and Google Wallet, no app needed.
Find out how to design, send and manage digital membership cards from one dashboard, and try it free: up to 20 cards with every feature, with no expiry date and no credit card required.
How the Idenge Dashboard works: design, connect and notify

Design your cards
Create a visual aspect with the logo, the corporate colors of your company/organization, and the personalized and global information you want to appear on the card

Connect your users
Variable fields connect to the database you create in the user menu or link it to your system through our API or user table

Choose your notifications
Send a message when you arrive at a location or direct push messages with the text you want to
Design your cards in just 3 steps
Design the card with your colors, logo, image and the fields you want to appear
HOW IT WORKS
Connect your users
Add your users
Send a link or QR so users register themselves, or add them yourself one by one or in bulk from a CSV file
Indicate your privacy
The card or pass can be public (any user can register) or private (only users registered in your account)
Share the card
By email or by scanning a QR. Users just enter their email address and the card is added to Apple Wallet or Google Wallet, with no app to install
Choose your notifications

Arriving at a location
Offer deals and promotions in real time and give detailed instructions the moment a member arrives. Increase satisfaction and encourage loyalty.
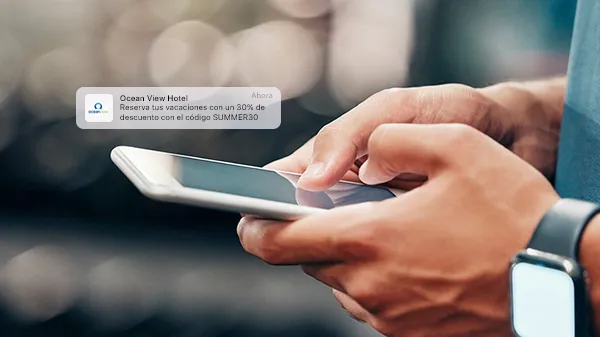
Sending push messages
Improve communication with your customers by sending promotions or reminders whenever you want to their mobile. They receive them even on a locked screen.
Try it on your phone right now
In a few seconds you will have a sample card in your wallet, just as your members would see it. Then design yours with your free account: free for up to 20 cards, with no expiry date, no credit card and no sales call.
Create your free account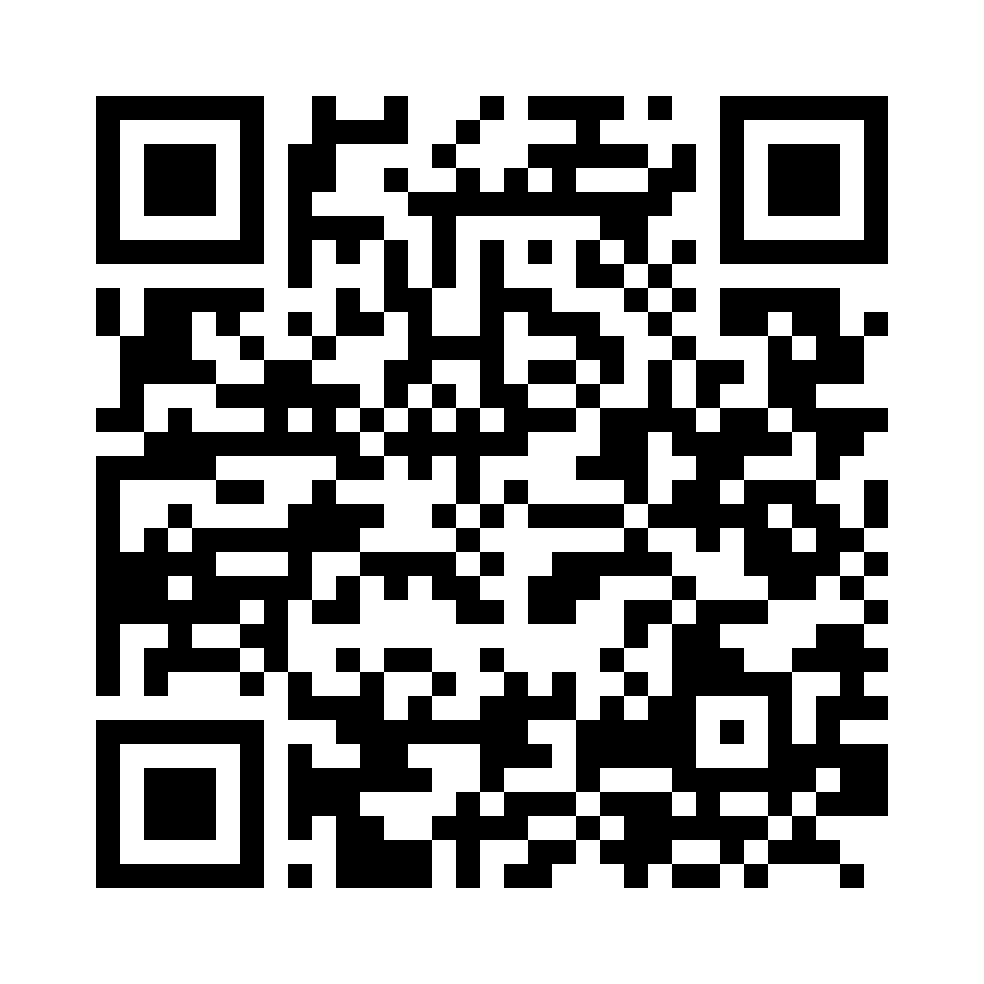
Scan the code with your phone camera and the sample card will be added to your wallet.
You are on your phone: tap your wallet button and the sample card will be added for you.



With Apple Wallet and Google Wallet there is no app to install. On Android, the card also works with the PassWallet app.
Frequently asked questions
No. Users just receive an email (or scan a QR) and from there add the card to Apple Wallet or Google Wallet, the pass apps already on their phone. Nothing to install, nothing to sign up for.
From the control panel, you can send push notifications to the mobile or send emails to communicate alerts, messages or promotions.
1. Filter the required users.
2. Select them all.
3. Check the multiple update box (face with pencil).
4. Select the field we want to change.
5. Put the content we want to show.
6. Click on SEND.
The selected field will be updated with the content for all selected users.
Our digital card allows all its content to be updated at any time and in a matter of seconds our users’ cards will change with the new content or image, different images can be applied for different users, or the image can be changed for indicated dates (for example some holiday), the image can also be used for promotions or important messages along with a push notification.
Follow the following steps to send direct PUSH messages to iPhone device users:
1. Go to the USERS section of the Dashboard
2. Select the users to whom you want to send the message
3. You can send individual messages or also to a group of users
4. Click on the white envelope icon
5. Write the message to send
6. Select Send
Remember that these messages can only be sent to users with an iPhone. The message will appear on the iPhone screen and will remain at the top of the phone until the user selects it. Additionally, the message will be saved on the back of the card (the last message sent is always saved).
One of the main features of Apple Wallet cards or passes is that they allow great interactivity with the users of the cards allowing not only to update any field or image of the cards but also send notifications or direct messages that appear immediately on the screen of iPhone devices.
In the users section of the dashboard we can register users manually or we can import a CSV format file for a quick load of our database.
To correctly import, follow these simple steps:
Before importing:
1. Make sure that the format to import has the correct fields
2. The CSV file must have the field titles equal to those in the Dashboard. That is, at least the “Name” and “Email” fields.
3. It is not necessary to have the Link or Status fields as their content is automatically generated after import.
4. If you want to import more fields, you must add these field titles in the Dashboard. For example, if your database has the field named XXX, you must create the XXX field in the Dashboard before importing.
5. Save your file in CSV format
When importing:
1. Click the CSV button at the top of the Dashboard in the users section
2. Choose the CSV file and proceed to import.
3. Remember that only the content of the fields whose title in the CSV file is the same name in the Dashboard will be imported.
From the Idenge Dashboard, you can schedule geolocation notifications that activate a message on the mobile phone that is displayed when we have the device locked in such a way that when we pick it up it is shown to us before entering the pin, fingerprint or facial recognition. In this post, we will discuss what these notifications are like and how they behave depending on whether it is an iPhone or an Android operating system phone.
First of all, it is important to highlight that this type of notification can behave differently taking into account several factors:
- Whether the user has Google Wallet or Apple Wallet notifications activated. In the case of Android, if they also have sound and vibration options activated.
- Also in the case of iPhone if that particular card has authorized notifications on Lock Screen (it is decided on the reverse side of the same card). Android has different behaviors depending on three factors: Android version, phone model and phone company, although the first two are the most relevant.
Although from the Idenge Dashboard we establish a single geolocation message where the location is set by entering the address (linked to Google Maps the system proposes the correct address) we also give it a name and also what text we want to show we have to take into account that the text will only be displayed on iPhone devices; on Android phones what is shown is a message with the name of the card and the fact that it is available for nearby use.
Individual fields are usually linked to the database, either Idenge's own or one connected through the API, and they identify the card holder. Global fields hold general information about the business or organisation issuing the card.
On a traditional plastic card, individual fields would be the variable data personalised on a card printer, and global fields the information pre-printed on every card.
You can set up the digital cards so that the QR code on the card can be used by anyone to scan it with another mobile device and verify that the card is valid and the user is registered in the Idenge database. If you scan the QR code on the image, you can check how the user’s data is verified, allowing you to verify its validity. If the user is not in the database or the card has expired, a message will appear saying that the user is not valid when the QR code is scanned.
To enable this function, you only have to go to the My Card / Front section and enable the QR code configuration to show the Identity Page function in the Value field. This new functionality of the Idenge platform is very useful for applications where you want to verify the identity or validity of a digital card or credential for visual access control or technician verification in service companies.
Wallet was originally called Passbook and is a pre-installed application on iPhone devices. If you have the latest iPhone models, you can activate Wallet with a double click of the side button, which is the same button that activates the bank card linked to Apple Pay.
Because Idenge cards are stored in Apple Wallet or Google Wallet, they get all the benefits of those platforms: if you have backups enabled, you just sign in on your new device and the cards linked to your account reappear.
If you switch from Android to iPhone or vice versa, contact the card issuer for a new link: Idenge cards use single-activation links to prevent duplicates, just like boarding passes or bank cards, which also need to be activated again on a new platform.